[ts]
The story of...
[ts]
The story of...
Me and my fish head.
Me and my tantrum.
Our mother's fish head soup is quite popular with a lot of people. In fact, different individuals or families usually make a special request that she make this soup. One such day, I took the opportunity of shadowing her and finally acquiring her recipe.
Our mother uses ling cod head for her soup. She also always asks the fishmonger to clean/cut up the fish head for her. Hence, on the day of my shadowing, the fish head was already in undecipherable parts.
I took all the necessary photographs for this dish. However, I could not bring myself to post this without a picture of a COMPLETE fish head.
My plan: to go to the supermarket and take a photo of the head there.
Quite a number of days after our mother made the soup, JS and I walked into the supermarket. I saw one ling cod head remaining on display. I remembered the camera in the car, so I ran back to get it. Upon my return, JS was nowhere near the fish display. Hence, I walked around the store until I found her. I needed the moral support, see.
However, she refused to go with me to the fish display!
I finally worked my way back there (
alone) and saw a couple of ladies ordering that final fish head, with the fishmonger proceeding to CHOP THAT HEAD UP!
I was too late!
We needed a few more things, so JS and I wandered around the store for a bit. Also, I was hoping that they would bring out more ling cod heads to replenish their display, thinking that perhaps they wanted to FIFO their fish heads (first in, first out); that is, they wanted that final one to be sold before bringing out the new ones.
As we passed by the fish display, I saw that they did indeed replenish the display with at least half a dozen heads!
Again, JS made her exit and refused to lend moral support. So I proceeded to ask the fishmonger to turn over one head (they were on the display "face down") and then asked if I could take a picture.
No.
"But we've bought several before!" -- I said softly, knowing that I had already been defeated.
I felt very dejected and walked out of the store limply.
[js]
In my defense, I was in the produce section, trying to remember items that we needed to pick up!
[ts]Exiting the store and entering the car, I called my mother and had a very fruitless and whiny conversation about when she thought she would make fish head soup again.
"Not very soon."
I was in a very pouty mood. Wait, let me emphasize this: I was very sullen, sulky and sour, crabby, cranky and crotchety.
I was in a very pouty mood.
JS took matters into her own hands and, like yielding to a toddler's temper tantrum, drove us to the supermarket
beside this supermarket (which are both, oddly enough, owned by the same company!) with the intention of purchasing one ling cod head.
Initially, what stopped us from buying a ling cod head was the cost. That is, there's no justification for buying a fish head for the sole purpose of taking its photograph!
But that's what we ended up doing.
I won!
(Sheepish teehee.)
P.S.
We did make fish head soup again with this new head, but that's a post for another time.
So, ladies and gentlemen, without further ado, I present to you,
Mr. Ling Cod Head!
Warning: Gratuitous head shots up ahead.
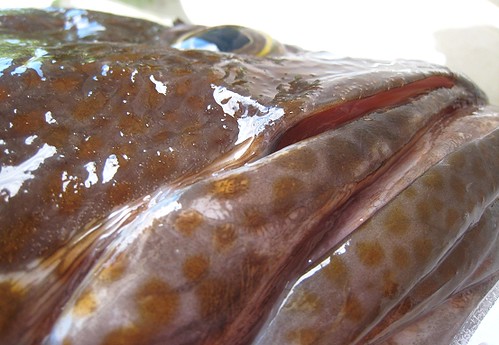 He was HUGE!
This here container is a 9" by 13" pyrex baking pan.
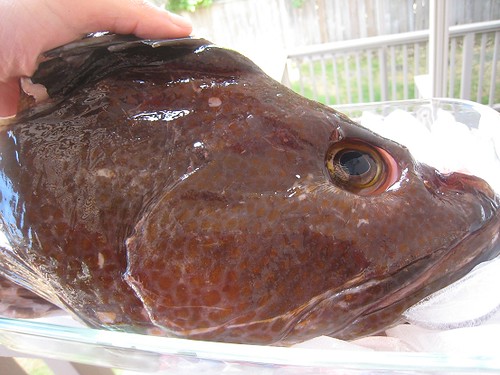
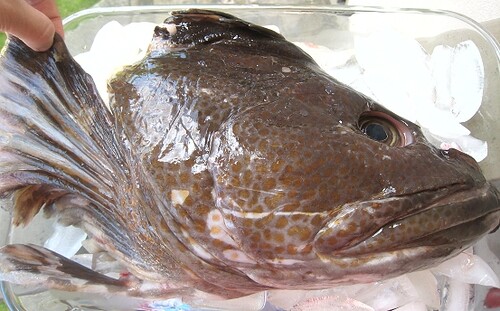
This head was approximately 3.5 pounds.
Total cost: $21-something!
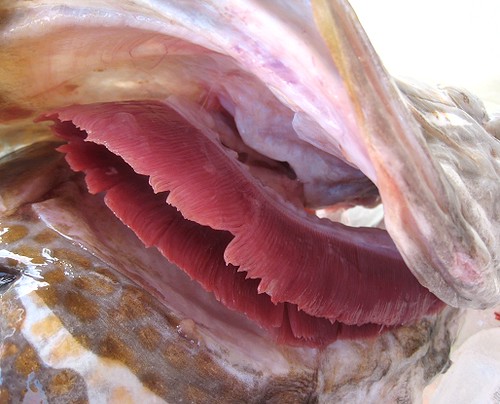 Nice gills

Mr. Ling Cod Head was actually just half a head. He was split down the middle, see!
OK, now that I've gotten that out of my system, let's proceed with the rest of the recipe!
(Well, I did have to get my money's worth in terms of photographs. I did spend $21 dollars!)
Mama's Fish Head Soup("hee-tao tung" in Fukien/Hokkien)
This recipe has a
very large yield. My mother is used to making this soup for a large number of people.
Serves 10 to 20 people.
(Mind you, that's the number of
people, not the number of servings. We assume that each person will have more than 1 serving, around 2 to 3.)
Ingredient quantities can be halved quite easily. Also, you can adjust each ingredient according to your taste.
INGREDIENTS
8 liters water (approximate)
1 ling cod head
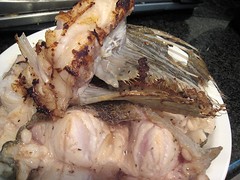
6 ling cod steaks
The steaks aren't necessary. Mama likes the soup to have extra fish meat is all.
Here is the fish head in undecipherable parts. (And yes, it is wise to have the fishmonger cut up the head. Mr. Ling Cod Head and I had a little fight before I was able to chop him up and remove his gills.)

A note:
When our mother made her soup, the fish head she bought was EVEN LARGER THAN THE ONE I BOUGHT. She said the cost came to about $50!!!
ginger: 3-inch piece, sliced
garlic: 10-12 cloves
leeks: 3 (include the green part)
green onions: 5
 Szechuan Vegetable: 1 cup
These are also called "preserved radish" (like the one used in Mama's giniling version 3).

Before using, Mama says to soak these in water for a few minutes (10 minutes, let's say) and then rinse. (More info here and here.)
satay: 6 tablespoons
The satay gives a certain
je ne sais quoi flavor in the soup, so it shouldn't be too strong. Just a hint will do. This is the brand we have at home.

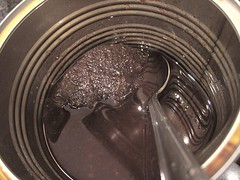 Tianjin Preserved Vegetable: 1/4 cup
These are a type of preserved cabbage, I believe. It comes in a cool little container like the one below. (More info here)

 tofu (regular/medium firm): 2 packages of 700g each
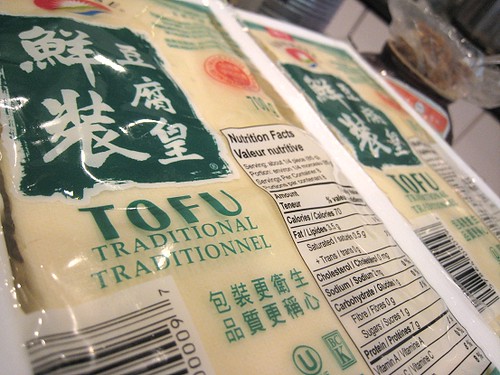 Napa cabbage: 1 huge head (or 2 to 3 small heads)

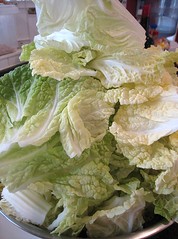
 Look at the yield of that napa!
METHOD
Look at the yield of that napa!
METHOD
Put the water into a big pot and bring to a boil. When it has come up to the boil, turn heat down and keep water hot.
In the meantime, in a large saute pan, pan-fry the fish pieces. They don't have to be too brown. This is to add more flavor and also help the fish not to disintegrate too easily in the soup.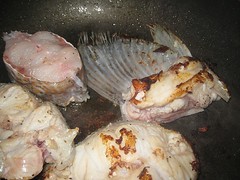
 Remove fish pieces and set aside.
Next, saute the ginger until slightly browned, then add garlic. Next, add the leeks, green onions, rinsed Szechuan vegetable, satay and Tianjin preserved vegetable.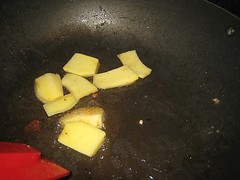
 Remove ginger.
Our mother likes to remove the ginger so as not to have an overpowering ginger flavor in the soup. However, if you like ginger, feel free to leave the pieces in.
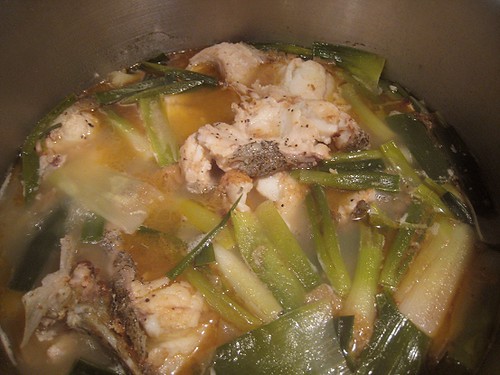
Put the sauteed aromatics and flavorings into the boiling/simmering water. Add the fish. Try to be gentle so as not to break apart the fish pieces.
Bring back up to a boil then turn down the heat to simmer, covered. Do not stir too much. Simmer for approximately 15-30 minutes.
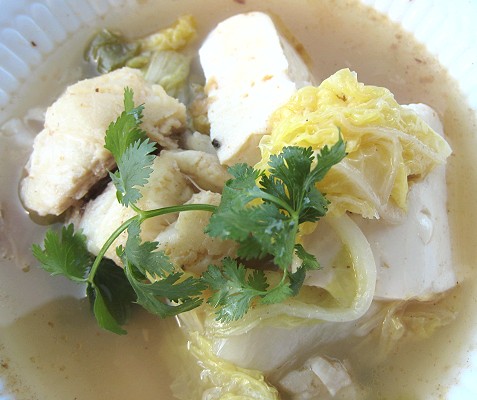
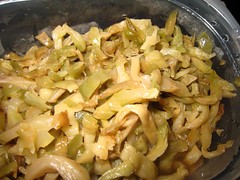
 The tofu and napa cabbage are added towards the end.
Mama likes the tofu to absorb the flavors, so she adds them first. Again, be gentle when placing the tofu into the soup. Simmer the soup, covered, for another 15 minutes.
The tofu and napa cabbage are added towards the end.
Mama likes the tofu to absorb the flavors, so she adds them first. Again, be gentle when placing the tofu into the soup. Simmer the soup, covered, for another 15 minutes.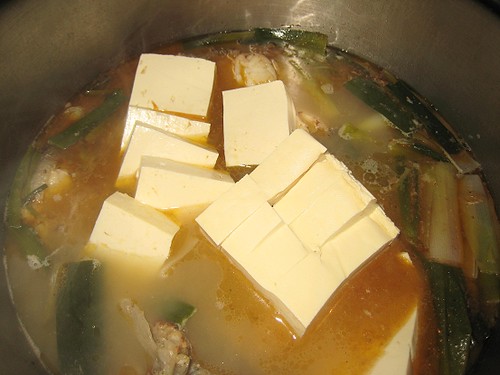 Then, add the cabbage and cover once again, until the cabbage is the tenderness you desire.
(In this specific case, since our pot was very full, she braised the cabbage in a separate pot with some of the broth of the soup.)
Then, add the cabbage and cover once again, until the cabbage is the tenderness you desire.
(In this specific case, since our pot was very full, she braised the cabbage in a separate pot with some of the broth of the soup.)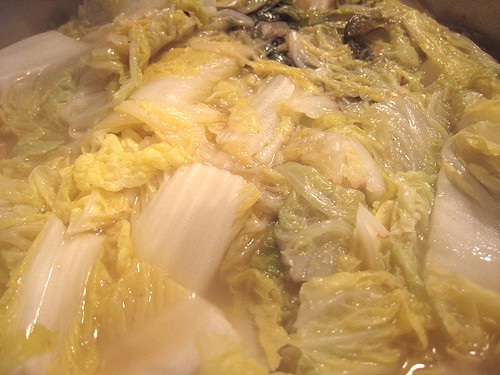 Adjust seasoning.
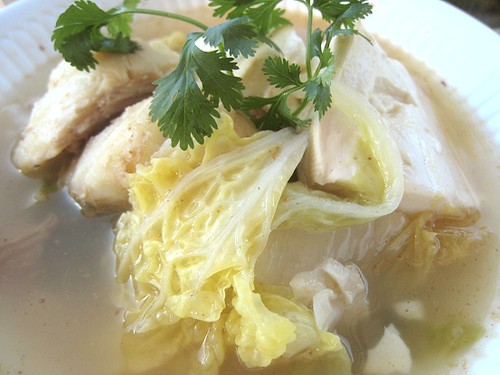
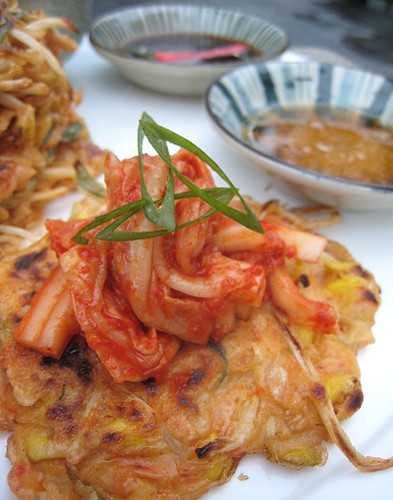
And there you go, a fish soup just like Mama's. This soup is one of those Asian-types that are, in the words of those dubbed judges in the Japanese Iron Chef, "subtle, yet profound."